January 21 we signed a contract to purchase a house (on a short sale), with property, in a rural area near Eatonville, WA (south of Tacoma, west of Mt. Rainier). The property is 5-acres; it is flat, usable, fully fenced, about 1/3 moderately forested, and 2/3 overgrown meadow-ish. The house is 40 years old, structurally well built, with several additions, about 2400 square feet. There are two outbuildings: a large three-car detached garage (about 1200 square feet) right next to the house, and a one-story 1800 square foot barn, 130 feet east of the house. Since the house is a short sale it was at a very good price, but we knew the process would take some time.
The house is a “fixer upper”, we understood it was going to take a lot of work once we purchased it. But it also needed work done prior to closing, in order to qualify for a VA loan. Long story short: the house had been empty for almost two years, had been broken into, trash had been dumped around the property, cottonwood trees had sprouted all over, electrical wiring had been stripped from the outbuildings, and the sellers hadn’t been the most tidy homeowners. The sellers made it clear that they would do very little: they would not spend any money, would not do any major repairs, and would not even do any cleaning. So we knew the VA appraiser would find deficiencies, and we knew it would be our responsibility–both labor and financially–to correct them, or it simply would not qualify for a loan.
The seller’s lien-holder, Bank of America (BoA), took almost 90 days to approve the sale, but finally mid-April it was approved to go forward. We began with the inspection (lots of cosmetic work, but structurally sound) and getting the VA loan process going. We were about a week and a half in when we found out we had less than three weeks to close (date set by BofA without informing us). Our lender told us to get an extension because a VA loan typically takes about 30 days. BofA said “No” — they said they needed to re-value the loan again and it would take four to six weeks (that was about mid-May).
While waiting for BofA’s second approval we decided to go ahead and get the VA appraisal. We wanted to be sure it’d appraise and, if so, what work would need to be done for final approval. We were pleasantly surprised that it appraised for more than we were paying. There were several deficiencies that we would have to resolve, but they were all doable:
- Provide verification that the property has an approved septic system
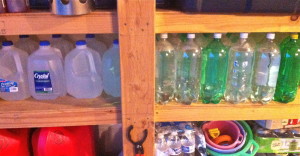
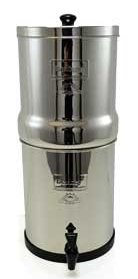
- Provide verification that the property has an approved water supply
- Provide a permanently installed conventional heat system (it only had two pellet stoves)
- Clean moss and other debris from roof of house and detached garage
- Sink is missing in the powder room – provide sink
- Provide hardware to make kitchen sink operational
- Remove vegetation and earth to wood contact from around the dwelling – provide clear pest inspection
- Remove garbage and debris from in and around the dwelling – present condition is unsanitary
- Install gutters, downspouts and splash blocks where missing or rusted and no longer operable
BofA finally came back on September 6th (over 3 1/2 months later) saying the loan was once again approved; they also said we had 24 days to close (September 30th), and there would be no extensions given. So we hit the ground running to get everything done on the VA appraisers’ list of deficiencies.
By last Monday we were done with the list, we had:
- The septic tank inspected, though older, it was in good condition and it was also pumped at this time (the seller was required to do this, and it was the only thing they did on this list).
- The well inspected. During the inspection we found out that the three bottom sections of drop pipe were leaking, we had them replaced (spending much more than we planned on the well at this point). Now the 40-year old well works like a champ, efficiently pumping 15-gallons per minute, and the water tastes great!
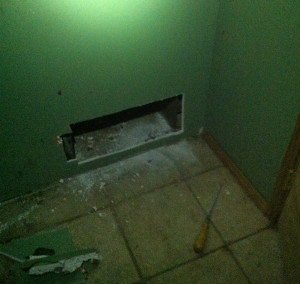
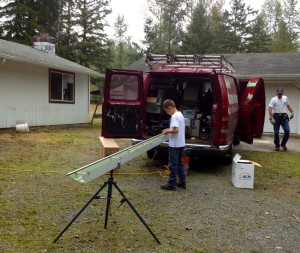
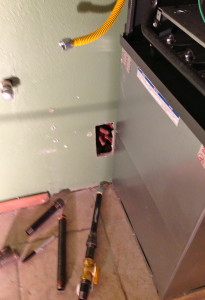
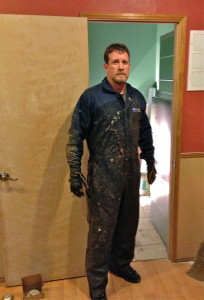
- The biggest project was installing a propane furnace. There were other options but my good friend Rick (also a prepper), an experienced HVAC journeyman, offered to do all the work for us — all we had to do was pay for materials. He got us a quality furnace, and last Sunday spent all day (and a little Monday morning) installing it. The original duct work was there, but had been boarded up and not used in more than 14 years. Including installing the furnace, and converting it to propane, we had to cut through two roof levels to install an exhaust chimney, and run gas piping through the crawl space. It was quite an endeavor, but with Rick’s expertise and time, we now have a furnace that runs great.
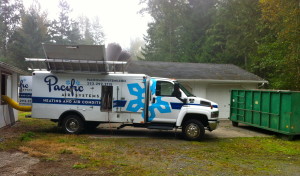
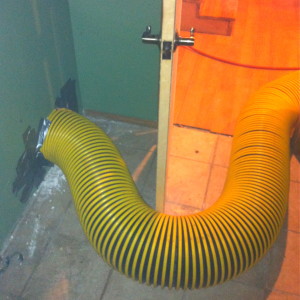
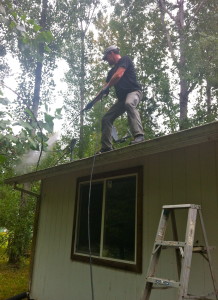
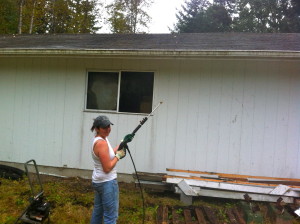
(Earlier in the week we had the duct system professionally cleaned. The system was a mess, years and years of trash, dirt, and animal fur had collected in the duct work. The cleaning guys said it was one of the worst they had ever seen. But they took great pride in being able to completely clean it out.) - We scrubbed the accumlated moss off the roofs, and then treated it with moss remover.
- The “powder room”, where we were supposed to provide a sink, is the same room where the furnace went. So instead of installing a sink, we removed the toilet and transformed the powder room into a furnace room (for now anyway). We chose to do this because we didn’t want the VA appraiser to walk in and see a furnace in the bathroom. (We talked with the lender first and got his approval.)
- Put in new kitchen faucet, and replaced the water lines. (There’s still a small leak from the hot water shut-off valve that’ll have to be addressed by a plumber after closing.)
- Removed all the vegetation and dirt from around the house. Also got a pest inspection done.
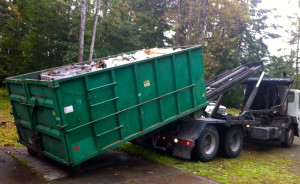
- With a lot of help we removed all the years of accumulated trash around the property. It completely filled up a 20-yard construction dumpster.
- We cleaned out the gutters by hand, power washed them out, then had downspouts and one section of gutter professionally replaced.
So we’re done with out part, everything that had to be done is handled. When the VA appraiser returns to re-inspect, hopefully he’ll be amazed at the improvements. Then, with any luck, it’ll close a week from Monday. Once it’s all ours, we’ll get back in there and do a bunch more work before we move in, hopefully for forever, November 1st.
Thank you very much to all those who helped us: Rick, Jay and Libby, Tad and Hilary (and Raice), Kelly, and Josh. If you missed out this time around, there will be plenty more opportunities in the future.
(I know this was long, but I guarantee this was the very summed up version of our last nine months!)
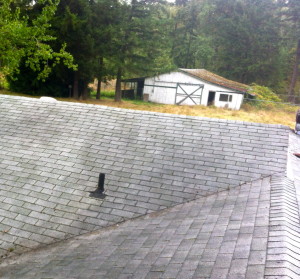
roof where we had to cut the furnace exhaust opening – included to show that we had to go through 2 layers of roof and to show the barn in the background
Update 9/26/13: We finally got the VA appraiser’s written re-inspection report today. He stated, “I certify that I have reinspected the subject property, the requirements or conditions set forth in the appraisal report have been met, and any required repairs or completion items have been done in a workmanlike manner.”
We’re scrambling for some last minute financial paperwork to get through underwriting (but it’ll be fine), and likely won’t close until the week of October 7 (we have an extension from both lien holders until October 9 — yes, they said there would be no extensions…).

